
Reviews
How to Recover Lost Files on Mac: Top Tools and Tricks That Actually Work

When files disappear on a Mac, the situation often feels final, but many cases allow a full restore with the right steps. Users lose data for different reasons: an emptied Trash folder, a replaced document, a failed save, or a disconnected external drive. Each scenario has a direct method that brings the lost files back.
This guide explains how to recover deleted files on Mac, return replaced documents, and restore items that no longer appear in Finder. We review tools that show strong results in real tests and list simple Mac actions that help you act fast and return your data without confusion.
What Happens When Files Are Deleted on Mac
Deleted files on a Mac stay on the drive until new data replaces them. The system only marks that space as free, so it’s still possible to restore items from Trash on Mac or use recovery tools to bring the files back.
Most users don’t realize that lost folders remain hidden until they are overwritten. If you learn how to find Trash on Mac or locate where macOS stores temporary data, you can recover lost content much faster.
Take these steps before you try to recover deleted files from your Mac:
- Stop all new downloads or file saves on that drive.
- Close every app that writes data.
- Use another disk to store restored files.
- Keep the Mac on if the Trash was recently emptied – do not restart it yet.
These steps protect what’s still left on the disk. Whether you need to recover replaced files on Mac or restore something deleted by mistake, less activity means a higher chance of success.
Next, we move to the tools that actually work – software that locates and restores deleted files with precision.
Best Mac Data Recovery Tools That Actually Work
Below is a breakdown of the best options to recover deleted files from Mac, restore the Trash, and bring back lost data safely.
Disk Drill for Mac

Best For: Deep scans, formatted drives, and large file recovery.
Disk Drill stands out as one of the most capable tools for users who need to recover deleted files on Mac quickly and safely. It scans internal drives, SSDs, and external USB devices, detecting almost 400 file formats. The app supports APFS, HFS+, FAT, and exFAT systems and offers both Quick and Deep scan modes for different recovery scenarios.
What makes Disk Drill different is its balance between power and simplicity. You can select a disk, start a scan, preview results, and restore data in just a few clicks – no setup or command-line steps required.
Disk Drill consistently appears among the top-rated utilities in expert comparisons of the best data recovery software for Mac. It achieves a strong success rate with formatted partitions, emptied Trash, and even partially damaged storage.
Pricing: Free preview; full license from $89 (one-time).
Our Score:
- Recovery Accuracy: ★★★★★
- Ease of Use: ★★★★★
- Scan Speed: ★★★★★
- Interface: ★★★★★
- Value for Price: ★★★★★
Final Thoughts:
Disk Drill remains one of the most reliable ways to recover deleted files that Mac users thought were lost for good. It delivers professional-level performance with a clean, easy interface, making it suitable for both beginners and advanced users.
iBoysoft Data Recovery
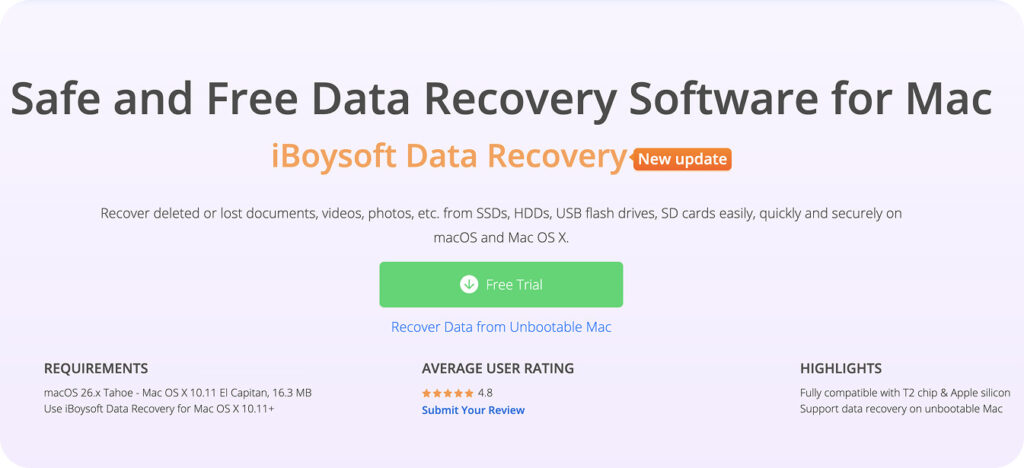
Best For: Drives that fail to open, unmounted disks.
iBoysoft Data Recovery restores files from unmounted, unreadable, or corrupted drives. It supports APFS, HFS+, and encrypted volumes while often preserving the original folder structure.
In many cases, macOS is unable to display an external disk because the system fails to mount it. A quick remount usually resolves the issue. After the drive appears in Finder, iBoysoft performs a full scan and restores the deleted data within minutes.
External disks often vanish from Finder after a power drop or a file-system fault. Situations of this type usually point to a mounting issue. In many cases, macOS does not show the drive because the system fails to attach it. Before jumping into recovery, it’s worth trying a reconnect or following a few quick steps on how to mount an external hard drive Mac. In many situations, that alone is enough to bring the drive back and restore access.
And if the drive still doesn’t show up or refuses to mount, recovery tools like iBoysoft Data Recovery can often help. Even when macOS won’t attach the volume, these tools can scan the disk at a lower level and recover data directly from the drive’s structure.
Pricing: Free version with limited recovery; one-year license from $99.95.
Our Score:
- Drive Compatibility: ★★★★★
- Recovery Rate: ★★★★☆
- Interface: ★★★★☆
- File Preview: ★★★★☆
- Value for Price: ★★★★☆
Final Thoughts:
iBoysoft is a solid option for external drives that refuse to open in Finder or for users who face a corrupted partition, a RAW volume, or a disk that fails to mount. It provides stable recovery results and handles difficult cases with precision.
EaseUS Data Recovery Wizard for Mac

Best For: Disks erased by mistake, deleted folders, and an empty Trash folder.
EaseUS Data Recovery Wizard for Mac restores files after a full disk erase, accidental removal, or system cleanup. It supports APFS, HFS+, FAT, and exFAT, and works well when users cannot recover deleted files from Mac drives through the default macOS tools.
The workflow stays direct. You choose a disk, run a scan, view the results, and move restored items to another location. The preview screen shows each file clearly before recovery. EaseUS also helps users who need clear steps on how to recover trash on Mac after the system clears the bin automatically.
Pricing: Lifetime License: $169.95
Our Score:
- Recovery Quality: ★★★★☆
- Scan Speed: ★★★★☆
- Interface: ★★★★☆
- Preview Accuracy: ★★★★★
- Value: ★★★★☆
Final Thoughts:
EaseUS suits users who face file loss after a disk erase or Trash cleanup. It provides a clear process and stable results across modern versions of macOS.
How to Recover Deleted Files From Mac
And now we move to the practical steps. Below, we demonstrate three proven ways to restore lost files on a Mac.
Method 1: Use Disk Drill for Fast and Accurate File Recovery
Many real recovery cases start with data recovery software, so we open the practical section with this method. Users often turn to it after a file disappears from Finder, the Trash folder shows no items, or an external drive loses access.
We often rely on Disk Drill because it offers simple controls and strong recovery results. It identifies documents, photos, and project files that vanish after a file-system fault or a sudden power drop. We use it in this demonstration because it remains one of the most reliable options in the Mac recovery space.
How to use Disk Drill:
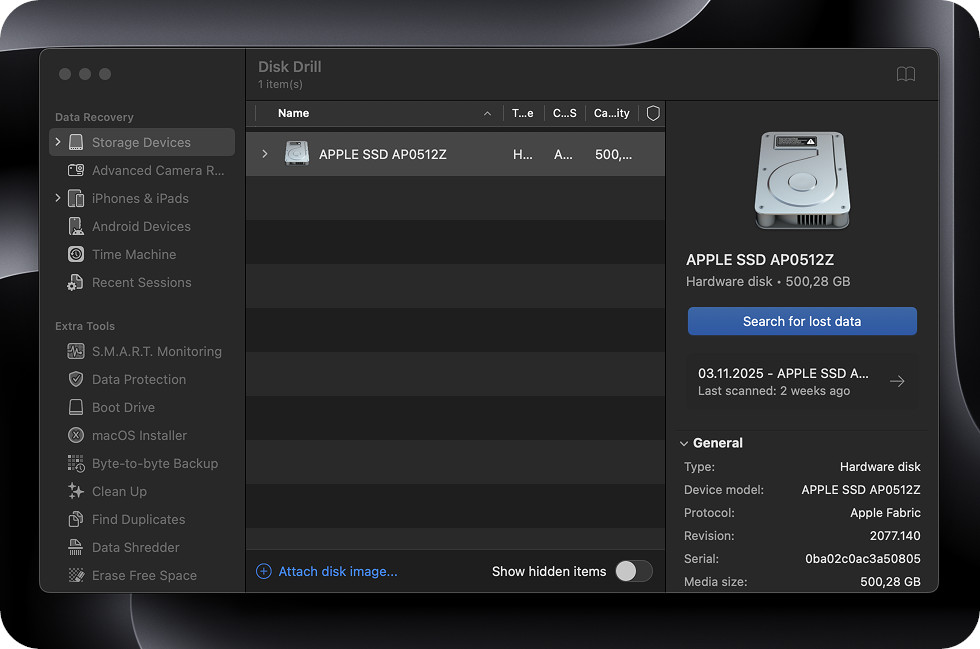
1. Open Disk Drill and select the drive that holds the missing files.
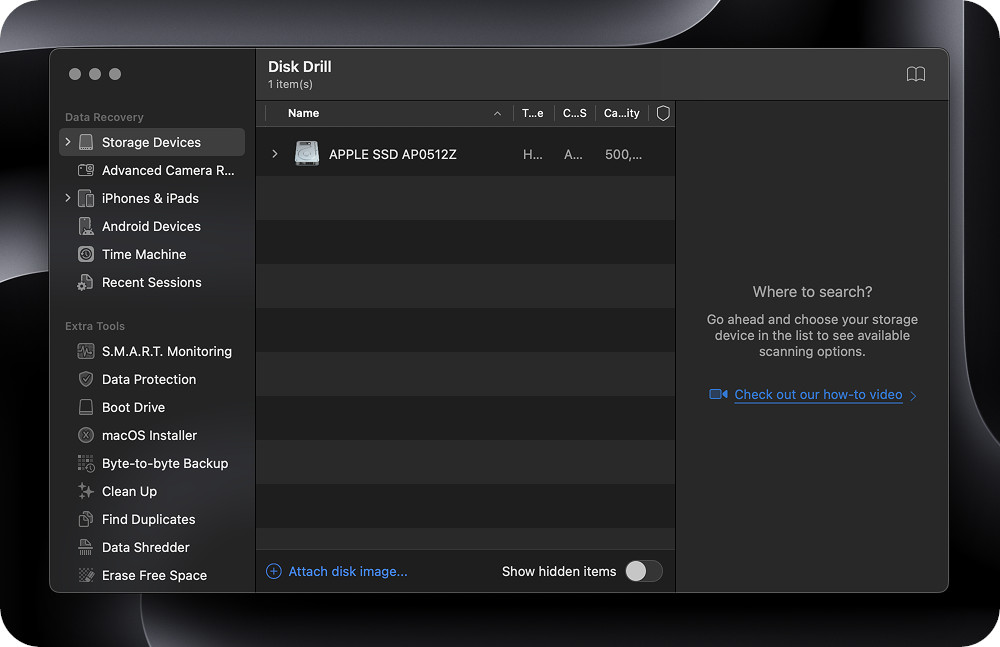
2. Confirm the correct device. Disk Drill shows model name, capacity, and file system type.
3. Press Search for lost data to start a full scan.
4. View the results. The Preview panel shows real file content.
5. Select the required items and restore them to another disk to avoid overwriting the source sectors.
This method provides a clear way to handle Mac undelete cases and helps users restore files after an empty Trash, an accidental removal, or a system update that failed.
Modern Macs rely on SSD storage, and many users report low recovery success once the system clears free blocks. A discussion on Reddit shows that TRIM removes most traces of deleted files at a low level, which sharply reduces the chance of full restoration on the internal drive. Still, there are cases where TRIM doesn’t run for one reason or another, so it’s always worth scanning the drive first.
Method 2: Recover Hidden Files from the System Trash Folder
Some deleted files do not appear in the Dock Trash icon. macOS often places them inside a hidden Trash directory that Finder does not show. This behaviour confuses users who try to understand how to recover trash on Mac after the visible bin displays no files. Access to the system path often solves such cases and restores items that the interface hides.
This method works on drives where Finder fails to update the Trash view, on external disks that hold their own Trash folder, and on user profiles that store removed files in separate system paths.
How to recover hidden Trash items:
- Open Finder → Go → Go to Folder.
- Enter: ~/.Trash
- View the files that appear in this directory.
- Move the required items to the Desktop or to any visible folder.
- Check external drives as well – many of them store a . Trashes folder with additional deleted files.
This action restores items that macOS hides from the Dock Trash and provides a direct solution for cases where the standard Trash window appears empty.
Method 3: Restore a Replaced File Through Local Snapshots
A file can disappear after a full overwrite, a failed save action, or an autosave fault. macOS stores short-term snapshots on APFS volumes, and these snapshots often contain the previous version of a file. This approach helps users who try to restore trash Mac cases where an older revision no longer appears in Finder.
Local snapshots act as a short archive. They hold versions that existed before the overwrite and allow access to earlier states without a full Time Machine setup.
Here’s how to recover replaced files on Mac:
- Open Time Machine from Spotlight or the menu bar.
- Navigate to the folder where the file existed before it was replaced.
- Use the timeline on the right side to move to a snapshot created before the overwrite.
- Preview the older version to confirm it is the correct one.
- Click Restore to return the file to its original location.
Successful restoration recovers work lost after an overwrite and returns access to earlier revisions that macOS normally hides.
Final Thoughts
If you skipped the full guide, the main idea stays clear: fast action, no new writes on the affected drive, and the right method usually returns files that macOS no longer displays. Deleted data often remains on the disk for a short time, so the correct approach often decides whether recovery succeeds. This article showed how to recover deleted files on Mac through reliable tools, system paths, and precise file-level steps.
It is fair to note that macOS also includes a few app-specific recovery features. A Pages file may allow a return to a previous revision through the built-in version panel, and deleted photos may stay inside Recently Deleted in the Photos app for several weeks. These options help in narrow cases, but they do not cover most loss scenarios. This is why we focused on the most effective methods that assist nearly every user, regardless of where the file was stored or how it disappeared.


Officer, bystander injured in Baltimore County shooting

5 stabbed at New York’s Penn Station; suspect arrested

Major 7.8 earthquake strikes Philippines, tsunami threat issued

2 killed after U.S.-registered private jet crashes in Dominican Republic
-

 World1 week ago
Dutch police review arrest after pregnant woman thrown to ground in viral video
-

 World1 week ago
U.S. citizen killed in shootout near Cabo tourist area in Mexico
-

 US News1 week ago
3 Latvian climbers killed in fall on Denali in Alaska; others injured
-

 Legal1 week ago
2 officers, police K-9 injured in Virginia shooting
-

 US News1 week ago
United flight turns around over Atlantic after Bluetooth device named BOMB
-

 Legal6 days ago
3 killed, officer wounded in shooting in Sandy, Oregon
-

 Legal6 days ago
1 killed, 1 seriously injured in shooting near clinic in Saskatchewan, Canada
-

 Legal4 days ago
Mississippi deputy shot during standoff in Simpson County